How We Generate Consistent Animation Sprites with AI
How a father-son game dev team uses AI with an anchor image workflow to generate consistent character animation sprites.

Originally published on Sr. Jr. Games↗
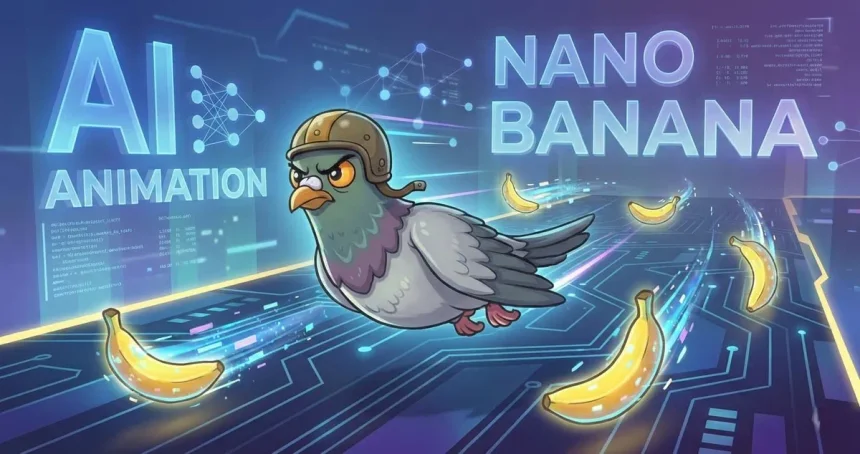
If you’ve followed our journey at Sr. Jr. Games, you know that while I bring 20 years of software engineering experience to the table, I am decidedly not a professional animator.
Filip (Jr., age 8) is our creative powerhouse. He dreams up the characters—like the star of our upcoming project, a pigeon with very specific fashion sense. But when Filip says, “Dad, make the pigeon fly,” the reality of game development hits. Traditional frame-by-frame animation is beautiful, but for a two-person team (where one of us has a bedtime and the other has a day job), it’s a massive bottleneck.
We needed a way to generate sprites quickly without losing the charm of Filip’s original character design.
Enter AI.
The Problem: The “Hallucinating” Artist
Most people know that Generative AI can make pretty pictures. But if you ask an AI to “draw a pigeon” five times, you get five different pigeons. Different beak sizes, different lighting, different styles.
In game dev, consistency is king. If frame A doesn’t look exactly like frame B, the animation jitters and breaks the immersion. We needed the exact same pigeon, just moving its wings.
Our Solution: The “Anchor Image” Workflow
After a lot of trial and error with “Nano Banana” (our internal working title), I found a workflow that actually works. It bridges the gap between a static image and a fluid animation sheet.
The secret isn’t a complex LoRA or training a custom model (though those are cool). It’s about being incredibly specific with a multimodal AI (one that can “see” images) and using mathematical language for the poses.
Step 1: The Base Reference
First, we take the “master” image. This is the character Filip approved. Let’s call it image_98d44e.jpg.
Step 2: The Prompt
I upload the reference image to the chat and use a prompt that treats the AI less like an artist and more like a geometry engine.
Here is the actual prompt structure I used to get our pigeon flight cycle:
Image of the pigeon from [uploaded_image_name] in following poses:

A. Exact as [uploaded_image_name] but wings leveled, both wings pointing backwards
B. Exact as [uploaded_image_name] but wings 20 degrees down
C. Exact as [uploaded_image_name] but wings 45 degrees down
Result: you obviously need to stich the frames together to create a smooth animation.
Why This Works
- “Exact as…”: This command is crucial. It forces the model to cling to the reference image features—the color palette, the specific tie the pigeon is wearing, and the eye shape.
- Explicit Angles: By using degrees (“20 degrees down”), I’m speaking a language the computer understands perfectly. Vague terms like “flapping a little bit” yield vague results. Numbers yield precision.
- Batching: Asking for poses A, B, and C in one go often helps the AI maintain style consistency across the batch.
The Junior Verdict
When I showed the raw output to Filip, I was nervous. He’s the strictest Art Director I’ve ever worked with.
His verdict?
“Ideally, he needs to flap faster, but he looks like the right bird.”
That’s a win in my book.
Final Thoughts
This workflow hasn’t replaced the work—I still have to cut out the background, stitch the sprite sheet in our engine, and tweak the timing. But it has transformed a task that used to take me a weekend into one that takes a lunch break.
For parents teaching their kids to code: these tools allow us to say “Yes” to their wild ideas much more often. And that keeps the magic alive.